Family and classroom
Tree identification for kids, step by step
A guide for parents and teachers, with short steps a child can follow, a leaf-shape chart, safety rules and activities by age.
In short
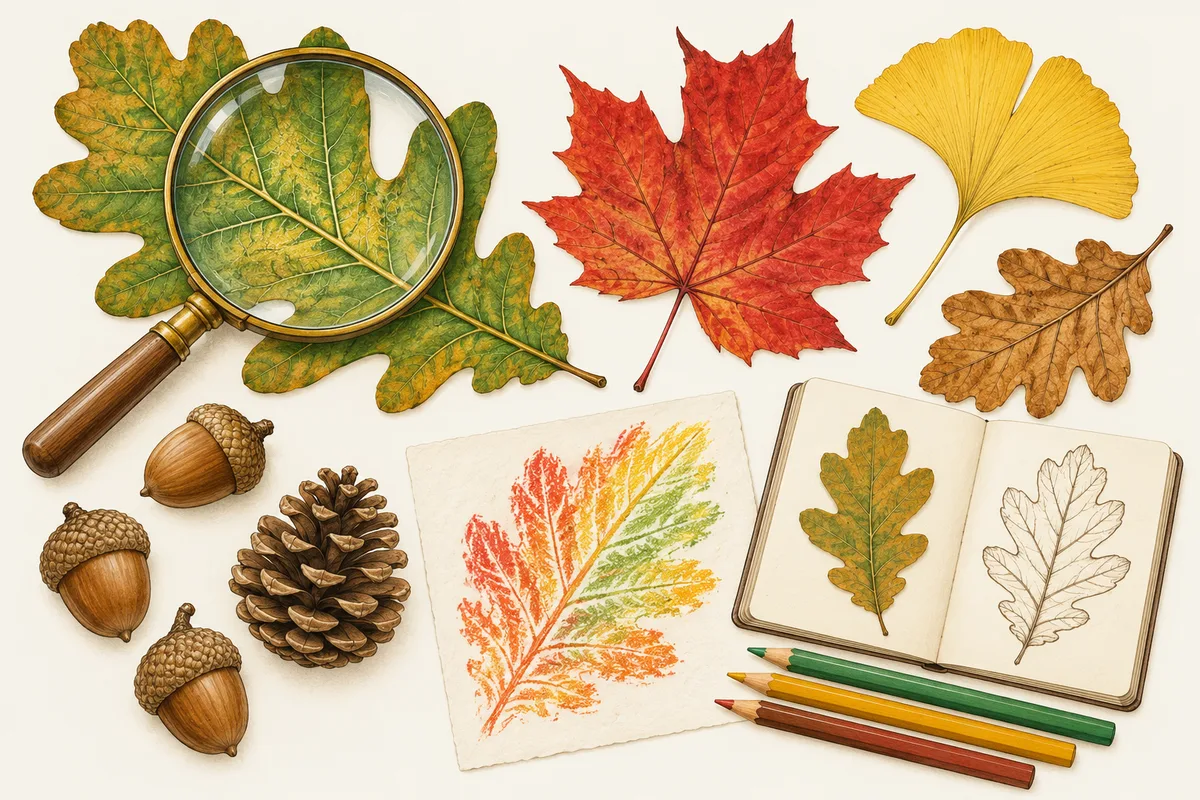
Tree identification for kids works best as a short routine an adult leads: look at the whole tree's shape, then at one leaf (needles or broad, one blade or several leaflets, smooth or toothed edge, lobes or none), then make a crayon bark rubbing and check for acorns, cones or seeds underneath. An adult checks every plant before a child touches it, and nothing goes in anyone's mouth.
- Safety first: an adult checks a plant before a child touches it, and leaves, berries and seeds never go in the mouth.
- Poison ivy has one leaf made of three leaflets and grows as a vine or a low shrub: "leaves of three, let it be".
- A crayon bark rubbing, a pressed-leaf book and one adopted tree visited every season teach more than a long list of names.
Children learn trees the same way adults do: by looking at a few clues in a fixed order. This guide is written for parents and teachers. Each step below is short enough for a child to follow, and the adult's job is to keep everyone safe, ask the next question, and help match the clues to a name.
Safety rules before the first walk
Read these out loud before you start, and repeat them at the first tree:
- An adult checks a plant before a child touches it. Children can look closely at anything, but hands stay off until a grown-up has said yes.
- Nothing goes in your mouth. No leaves, berries, nuts, seeds or flowers, even if they look like food. Never eat a berry, nut or seed on the strength of a web page or an app; check with a local expert.
- Leaves of three, let it be. Poison ivy is the plant to teach first. Illinois Extension's guide to identifying poison ivy explains that each leaf is made of three leaflets, that the plant can be a shrub up to 3 or 4 feet tall or a vine climbing a tree trunk, and that it often grows in patches in partly shaded woods. Its oil, urushiol, can cause an itchy rash, and the woody stems hold more of it than the leaves. The same guide advises avoiding anything that resembles "leaves of 3".
- Ask before you pick. Take leaves only where you have permission, and take one leaf, not a branch.
If a child does touch poison ivy or gets a rash after a walk, see a doctor or pharmacist.
Step by step: how a child can identify a tree
Work through the same seven steps on every tree. After a few walks, children start asking the questions themselves.
- The whole tree. Stand back and describe the shape: tall and pointed like a cone, round like a lollipop, or wide like an umbrella. Is there one trunk or several?
- Needles or broad leaves. Thin needles or tiny scales mean a conifer, such as a pine or a spruce. Flat, wide leaves mean a broadleaf tree, such as a maple or an oak.
- One blade or many leaflets. Follow the leaf stalk back to the twig. One blade on the stalk is a simple leaf. Several small leaflets on one stalk make a compound leaf, and each leaflet can look like a whole leaf, which is a good puzzle for older children.
- The edge. Run a finger along it. Smooth, or toothed like a saw?
- Lobes. Does the leaf have rounded or pointed parts that stick out like fingers? Count them.
- The bark. Feel it and make a rubbing (see below). Smooth, bumpy, peeling, or cut into deep grooves?
- The ground. Look under the tree for acorns, cones, winged seeds or nuts, without picking anything up until an adult has checked.
The adult then puts the clues together. The Arbor Day Foundation's What Tree Is That? is an illustrated, step-by-step key that identifies a tree by its leaves: you start by choosing your region, then answer one question at a time, which suits a child reading along. Our guide on how to identify trees gives the full adult method, including opposite and alternate leaves.
A simple leaf-shape chart for kids
Children remember shapes faster when each one has a picture word. Use this chart on a walk, or copy it into a notebook.
| What the child sees | What it is called | Trees to look for |
|---|---|---|
| Thin needles in little bundles | Needles | Pines |
| Tiny overlapping scales, like a braid | Scale leaves | Arborvitae, junipers |
| One flat blade shaped like a hand, with pointed fingers | Lobed, palm-shaped | Maples |
| One flat blade with rounded fingers | Rounded lobes | White oak |
| One flat blade with pointed fingers ending in tiny hairs | Bristle-tipped lobes | Red oak, pin oak |
| One flat blade with a saw-tooth edge and no fingers | Toothed | Cherry, elm, birch |
| One flat blade shaped like a heart | Heart-shaped | Redbud, linden |
| Many small leaflets in two rows on one stalk | Compound, like a feather | Ash, walnut, hickory |
| Five to seven leaflets spreading from one point | Compound, like a hand | Buckeye, horse chestnut |
For more shapes and edges, see how to identify trees by their leaves.
Bark rubbings with crayons
A bark rubbing turns the trunk into a picture a child can keep. You need plain paper and a few crayons with the paper wrapper peeled off.
- Hold the paper flat against the trunk at the child's chest height. A second pair of hands helps.
- Rub the long side of the crayon across the paper, not the tip.
- Write the date and the tree's name, or a nickname until you know the name.
- Do the same on a second tree and compare: deep grooves, smooth bark and peeling bark all make different patterns.
Project Learning Tree's Adopt a Tree family activity uses the same idea: children draw their tree or "use a crayon or pencil to complete a leaf or bark rubbing" in a journal. Leaf rubbings work the same way, with the leaf vein-side up under the paper. The bark guide explains what the patterns mean.
A pressed-leaf book or leaf collection
A leaf collection is the classic 4-H forestry project, and it works at home too. University of New Hampshire Extension's Make a Plant Press 4-H activity gives a method children can do with an adult:
- Collect thin, flat leaves, with permission, and check with an adult that you know what each plant is.
- Make sure the leaves are dry on the surface.
- Lay them between layers of newspaper, with a few sheets between each layer, and sandwich the stack between two pieces of cardboard about 8 inches square.
- Put two rubber bands around the press in each direction, stack heavy books on top, and leave it in a dry place for at least two weeks.
Once the leaves are flat and dry, glue or tape them into a scrapbook. Older children can label each page the way 4-H members do: Nebraska Extension's 4-H forestry rules ask for the common and scientific name, the leaf type, the leaf arrangement, whether the leaf is simple or compound, the collector's name, the date and the place. The same rules note that shade leaves are often much larger than sun leaves, so pick an average leaf from the sunny side.
Acorns, cones and seeds as clues
What lies under a tree often names it faster than the leaves. Teach a few pairs:
- Acorns come from oaks.
- Paired winged seeds that spin like helicopters come from maples.
- Single winged seeds hanging in bunches point to an ash.
- Cones come from conifers. Pine cones hang down; some fir cones stand up on the branch.
- Nuts in a thick husk point to walnuts and hickories.
Look, sketch and count, but leave collecting to an adult's yes. Our seeds and nuts guide covers more fruit types.
Adopt a tree and visit every season
One tree visited all year teaches more than twenty trees seen once. In Project Learning Tree's Adopt a Tree activity, a child chooses a tree on a familiar walk, describes it with sight, touch, hearing and smell, and looks for signs of each season: "Bursting buds" in spring, "Ripe berries" in summer, "Leaf color change" in fall, "Bare branches" in winter. On each visit the child guesses why the tree has changed and predicts what comes next. A tree in your own yard or schoolyard is ideal; see identifying the trees in your yard for the common ones.
Ideas by age group
- Ages 3 to 6. Project Learning Tree's early childhood guide is written for children ages 3 to 6 and focuses on exploring and describing. Use the senses: feel bark, listen to leaves in the wind, sort fallen leaves by color and size, make crayon rubbings. One adopted tree is plenty.
- Ages 6 to 9. Add the seven steps above, the leaf-shape chart and a pressed-leaf book. Aim for five or six trees the child can name on the way to school.
- Ages 9 and up. Try a key with an adult, learn simple and compound leaves, and build a labeled collection. Nebraska Extension's 4-H leaf display asks for leaves from at least 10 species, including at least 2 simple, 2 compound and 2 conifer leaves; its "Parts of a Tree" exhibit is recommended for ages 8 to 11.
Where a phone app fits
Tree Identifier is an iPhone app made for adults, not a children's app, but it can help a parent or teacher on a walk. When nobody can name a tree, the adult takes one photo of a leaf, the bark or the whole tree, and Tree Identifier suggests a name with key traits. It needs an internet connection. When a child asks a follow-up question, such as why the leaves turn red, the adult can type it into the chat under the result and read the answer aloud. Let the child check the app's answer against the clues on the real tree: needles or leaves, edges, lobes, bark. An app never decides whether a plant is safe to touch or eat; that stays with the adult on the spot.
What a photo can't settle
- No app or web page can tell a child whether a plant is safe to touch or eat; an adult has to check on the spot, and berries, nuts and seeds stay out of mouths.
- Young seedlings and single leaflets are hard to name from one photo: a box elder seedling and poison ivy can look alike until you check whether the leaves sit opposite or alternate on the stem.
- Shade leaves and leaves from saplings may not look like the leaves in a chart, so a child's best leaf may not match any picture exactly.
Questions people ask
How do you teach kids to identify trees?
Give them a short routine and repeat it on every tree: whole-tree shape, then needles or broad leaves, one blade or several leaflets, smooth or toothed edge, lobes, then bark and anything on the ground. Name one or two trees per walk, and come back to the same tree in another season.
What is the easiest way for kids to identify leaves?
Sort leaves into groups before naming them: needles or broad leaves, simple or compound, smooth or toothed, lobed or not. A child can do that sorting alone. An adult then matches the group to a name with a key such as the Arbor Day Foundation's What Tree Is That?, which starts from your region and the leaves.
How do you press leaves with kids?
Lay thin, flat leaves between several sheets of newspaper, sandwich the stack between two pieces of cardboard, wrap it with rubber bands, and stack heavy books on top in a dry place. UNH Extension's 4-H activity says to leave it for at least two weeks, then check whether the leaves are dry.
What does "leaves of three, let it be" mean?
It is a rhyme to help children avoid poison ivy, whose leaf is made of three leaflets. Illinois Extension notes that the plant can be a low shrub or a climbing vine and advises avoiding anything that looks like leaves of three. Teach the rhyme, but have an adult check any three-leaflet plant.
Is there a tree identification app for kids?
Tree Identifier is made for adults, not as a children's app. A practical approach is for a parent or teacher to hold the phone, take one photo of the leaf, and read the answer together, then let the child check the clues on the real tree. The child does the looking; the adult runs the app.
What is an adopt-a-tree activity?
A child picks one tree near home or school and visits it again and again. Project Learning Tree's family version asks children to describe the tree with sight, touch, hearing and smell, make a bark or leaf rubbing, and look for seasonal signs such as bursting buds, color change and bare branches.
Sources
- Tree Identification & Guides (What tree is that?) — Arbor Day Foundation
- Family Activity: Adopt a Tree — Project Learning Tree
- Early Childhood Environmental Education Guide — Project Learning Tree
- "Leaves of three": Identifying poison ivy — University of Illinois Extension (Ryan Pankau, The Garden Scoop)
- Make a Plant Press [4-H Activity] — University of New Hampshire Extension
- Forestry (4-H static exhibits) — Nebraska Extension in Lancaster County